Please note that your choice of compiler in the list can limit the analysis
that is available, as not all analysis support every compiler.
Installation
Run installation file with a name of setup.hksat.x.x.x.x.exe.
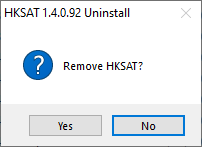
If an older version is installed, remove it prior to the installation of a new one.
Uninstalling Previous Version Window
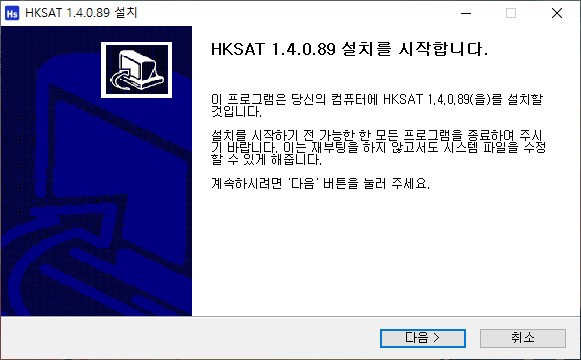
On Installation Instructions, select Next button:
Installation Instruction Window (KR)
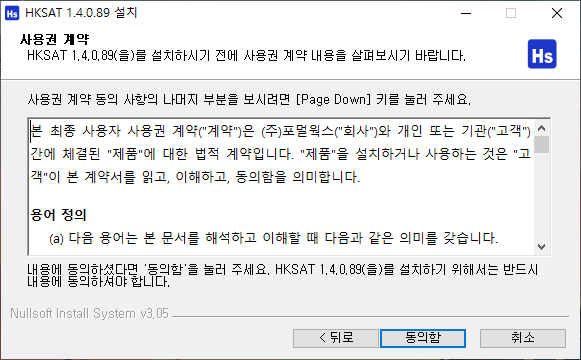
On License Agreement, read the license agreement. If you agree, press I Agree button to
continue; otherwise, click Cancel button to abort.
License Agreement Window (KR)
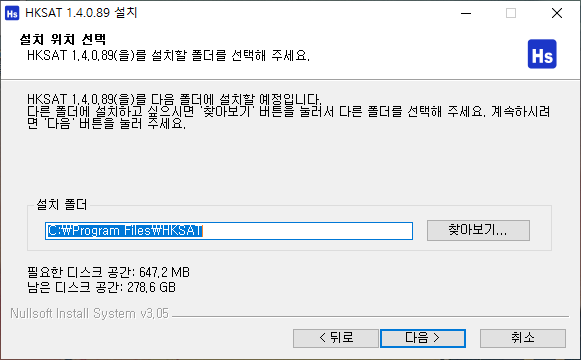
On the window for choosing Install Location, select a location to install and click Next button.
Chooose Install Location Window (KR)
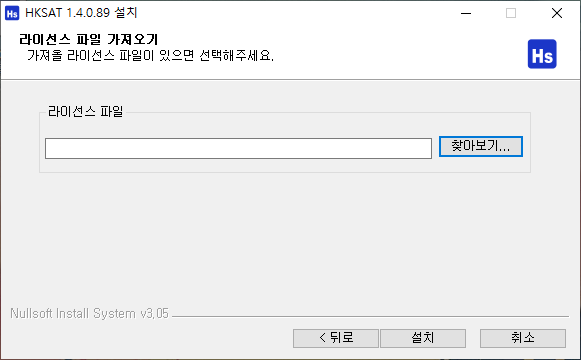
On the window for License File Import, click Install button with or without selecting a license file. If selected, the path will be
copied to "C:\ProgramData\HKSAT". When the license has already been installed, you can simply skip.
License File Import Window (KR)
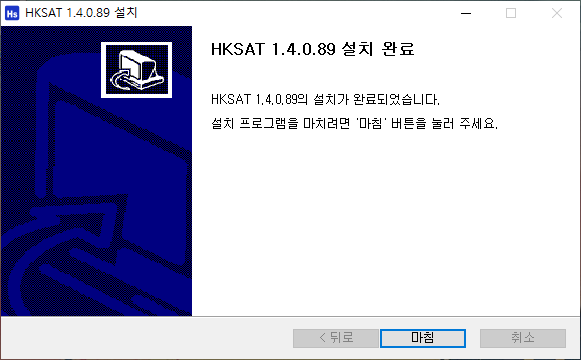
A progress window will be displayed.
When it is done, click Finish button to finish the installation.
Installation Complete Window (KR)
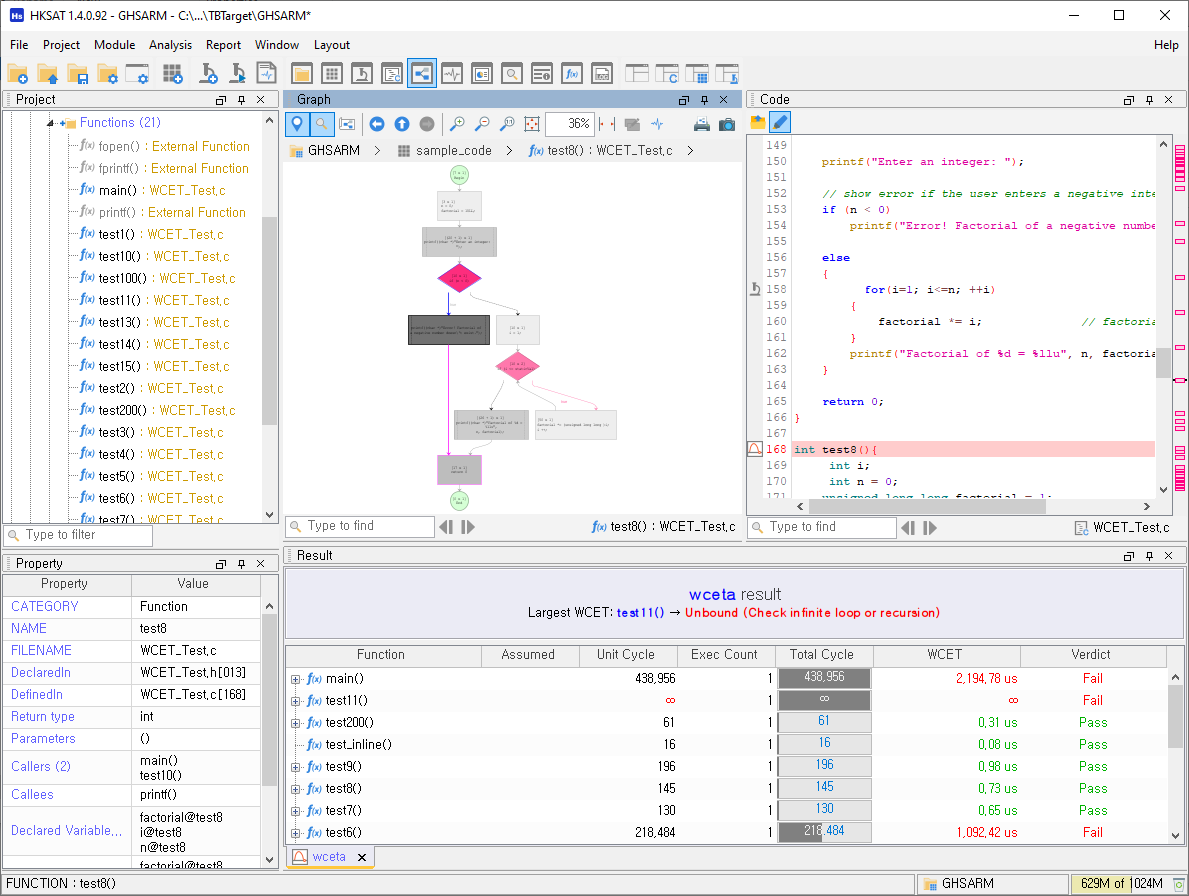
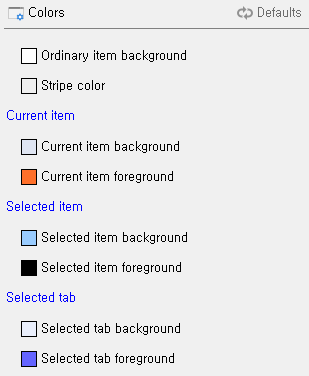
Select Preferences from File menu, or select Preference icon from the toolbar.
Preference Dialog
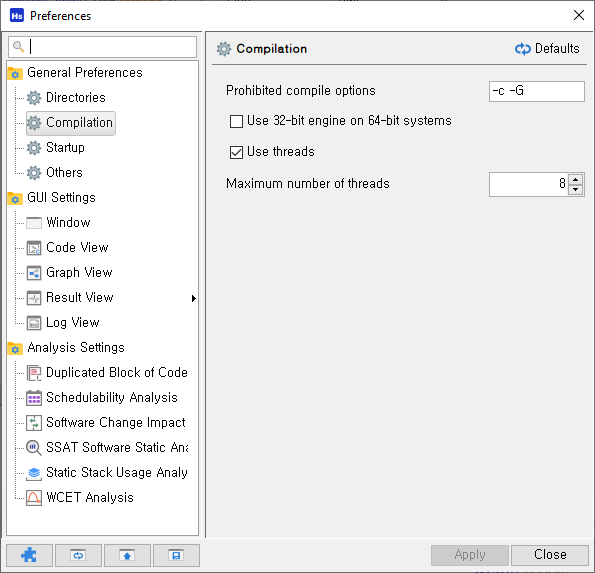
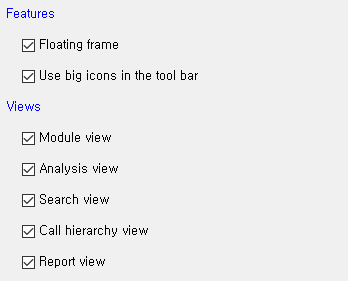
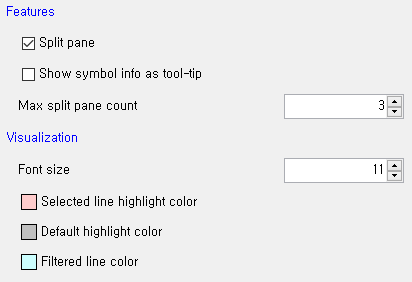
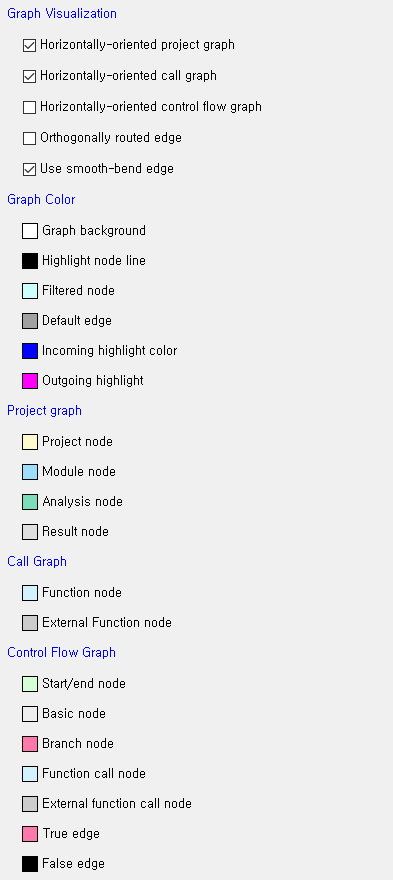
HKSAT Preferences Window
Upper panel
Search Field, if there are some texts, it will show those related to the text.
Restore default values restores default values for preferences in the page. This may require a
restart if needed.
Lower panel
Manage Compilers closes Preference window and opens Manage Compilers window.
Restore all defaults restores default values for all preferences. This may require a restart if needed.
Import preferences read a preference file and apply the contents.
Export preferences save modified preferences to a file.
Apply writes all changes to the registry.
Close closes the window.
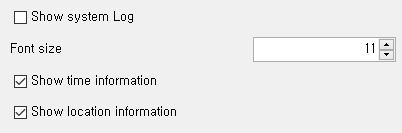
General Preferences
Includes basic program preferences.
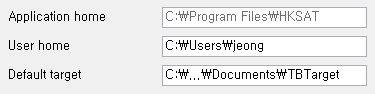
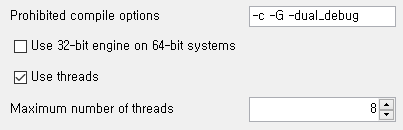
Basic Options
Basic Options
Application Home shows where HKSAT is installed. It cannot be changed after the
installation.
User Home is where files with user settings are stored.
Default Target is the path where new projects are created.
Startup Options
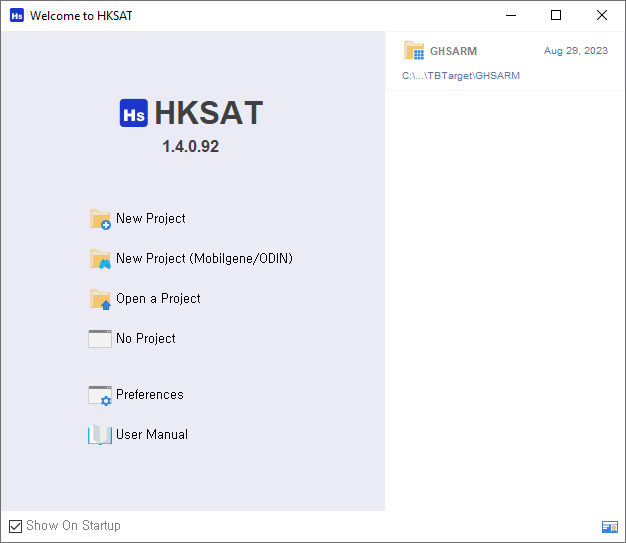
Shows Welcome window on startup is whether to show Welcome Window during the start-up.
Check updates on startup is whether to check for new versions during the start-up.
Other Options
Default user name is the default author name used for new projects.
Number of recent files is the number of items displayed in the recent project in the menu bar.
Close progress window when the tasks are done is whether to close a progress window when the tasks are finished.
Use next task suggestion is whether to show possible next tasks after the task is completed.
Use default list selection model is whether to use the default selection method.
Default target directory stores project files as well as temporary files which was generated during the
analysis, so a drive with sufficient storage space is recommended.
Modifying an analysis preference is optional. Most analysis works well with default values.
The contents of Analysis Preference Windows are vary by analysis type.
Among installed analysis, only those with configuration options are shown in the list.
For individual Analysis Preference Windows, please refer to the analysis section.
Changed configurations will be applied after the program restarts.
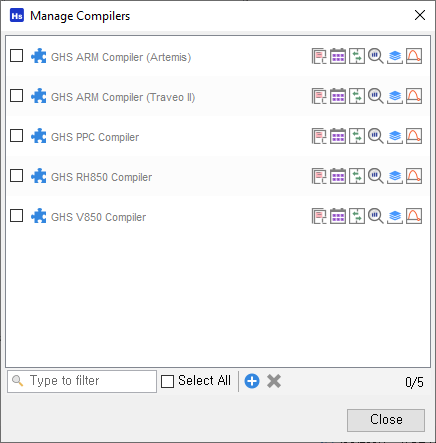
Managing Compilers
To manage compilers, select manage compilers from File menu.
From HKSAT-supported compilers, you can select and configure compilers to use in your project.
Compiler Management Window
Showing Supporting Analysis iconsWhen the option is selected, Supporting Analysis in compiler list will be
shown.
For a Compiler Plug-In to work properly, the corresponding compiler must be installed.
The compiler configuration data is preserved between the installations.
Compilers with invalid configuration will not be added; they need to pass validattion before the
addition.
To Enable a Compiler
Compiler preferences are required to use a compiler.
At least one compiler must be enabled to create a project.
If you want to analyze source code developed using a specific compiler, you must have the compiler
plug-in installed and the corresponding compiler plug-in enabled.
To enable an installed compiler
In Manage Compilers Window, click Add button.
When the Compiler Selection Window is displayed, select a compiler to enable.
Compiler Selection Window
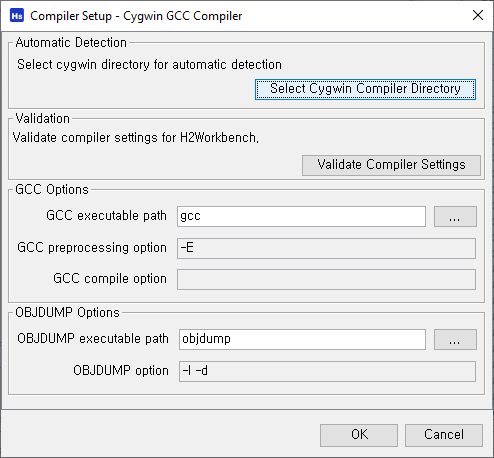
Compiler Setup differs between compilers. The following is an example and is for the GCC compiler.
GCC Compiler Setup Window
Click Select Directory button to specify the installation path for the compiler.
Click Validate Compiler Settins button to validate that required files are installed in
the specified path.
Click Close button to finish.
The contents of a Compiler Setup Window are determined by the compiler.
The compiler setting must be done prior to using it in the project.
To use Cygwin GCC, both 'GCC' and 'binutils' packages must be installed.
For further information on Cygwin, please visit Cygwin website.